

Back in July, I had the amazing fun of bringing three Porsches from very different vintages to an autocross in RI. It was a blast, to say the least. It was the maiden (race) voyage for the ’73 914 and the ’86 944. And I had no idea what to expect from them. I expected the 914 to be a handful. And it delivered on that promise! The 944 was actually more of an enigma, really. Having done a bit of mending of suspension bits, I already had an appreciation for the fact that this car was driven hard and put away wet for it’s prior lifetime. I knew I was getting into a project with this one, but little did I really know.
The best way to really get to know a car is to take it to it’s limits. On a hot day in July on an empty runway, I had the perfect venue. And we flogged her pretty well all morning. What was actually ideal is that, since the morning is instructional primarily, we couldn’t really constantly beat on the car. It came in doses that would allow me to assess how each car was reacting to the circumstances.
I was worried about three things with the 944 – engine mechanicals, cooling, and suspension. The engines are interference engines so if you break a timing belt, the valves hit the pistons…and your motor is a coffee table. As a water-cooled car, I had a sense that the car might be ok. But ’80’s cars were never really perfect for cooling. And 30-year-old radiators generally are not at their peak efficiency. I’d changed hoses and coolant and flushed the radiator, so I had reasonable confidence. For the suspension, I’d replaced struts and cleaned things up, changed brake fluid, and gotten her cleaned up. But bushings and various rubber bits get very brittle and tired after 30 years. While fixing this car back up, it seemed I am always finding something that needs repair or replacement.
So after a morning on the track, I was not surprised to hear some moaning and groaning from the front suspension, primarily when turning the wheel. The good news was that it probably wasn’t the shock towers. And probably not primary a-arm bushings since the noise wasn’t constant. I had new tie rod ends in hand already since I knew the tie rod boot on one side of the car – the passenger side of these cars takes a real beating with oil leaks and heat from the exhaust – was toast but hadn’t changed it out yet. So that was the first thing to do. Fairly easy job, all told. One bolt, unscrew the ends, screw the new end on, and bolt it back up.
But that didn’t stop the noise. Now what?
After a bit of research, I learned that the a-arms are a common failure point on these cars. Specifically, the ball and socket joint right below the wheel carrier.
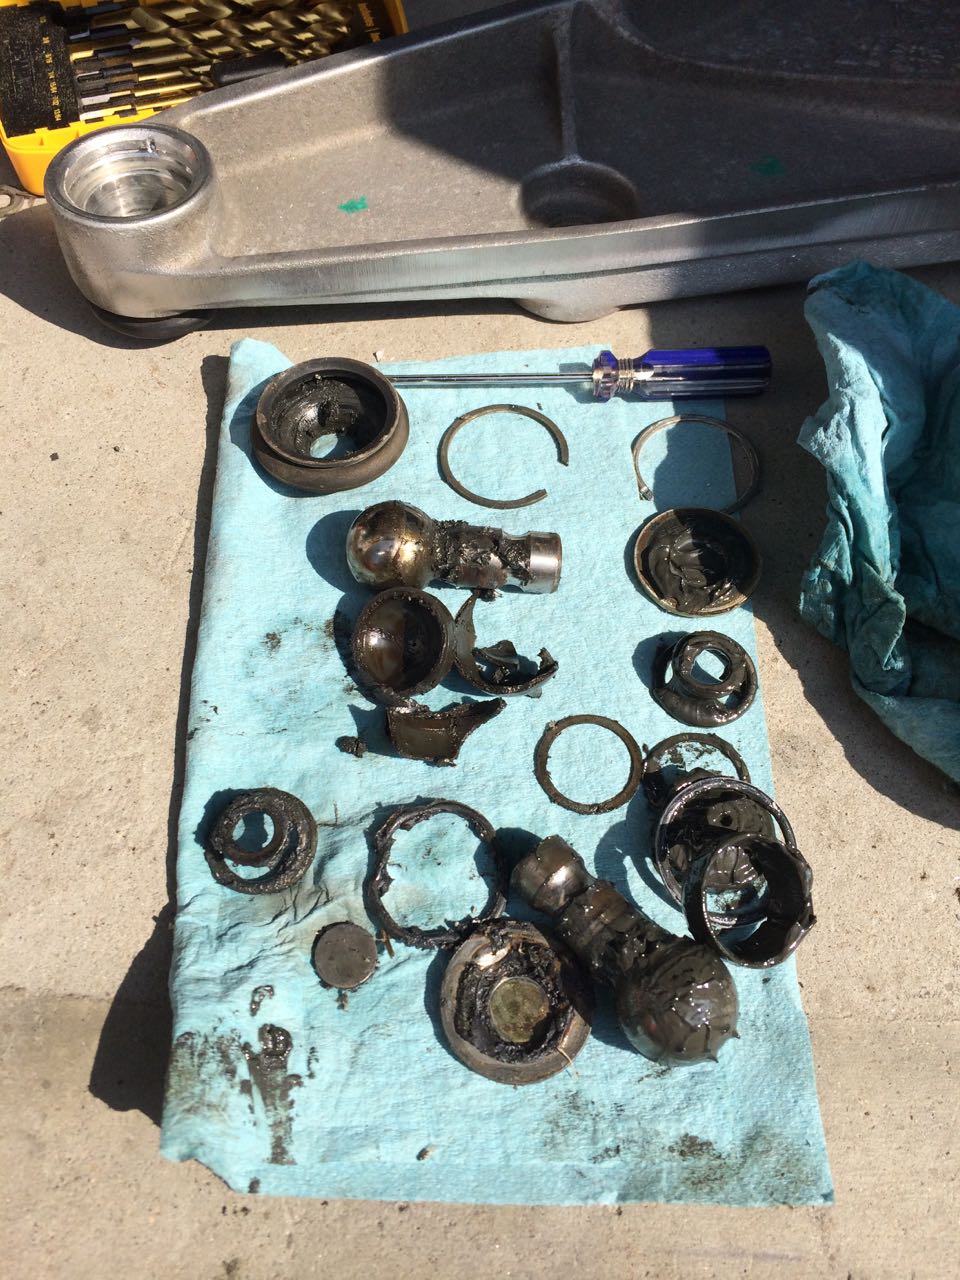
Porsche put the metal ball and pin into a joint lined with a plastic seat. Over time the plastic gets brittle and disintegrates. Doesn’t sound bad. But the joint as not intended to be fixable by the factory. They used to recommend replacing the entire a-arm. At $500 for each one. I wasn’t going to spend $1000 on a-arms for this thing. So I looked for another solution.

I found out that contrary to Porsche’s non-fixable idea, folks have come up with kits to fix these joints. Rennbay provided the option I needed, along with good video instructions and written instructions. I’d just have to put in the work.
This car is my school. It’s the car where I’m learning to really wrench. To overcome any fear I have of working on car stuff. I’m forcing myself to do all the stuff I can on my own. So I can make mistakes and learn. It was time to tackle a tough one.
After getting all the parts, watching the process, and summoning my courage I got to work. Taking off the a-arms was a little slow with rusty bolts, but PB Blaster is some miraculous stuff. Spray. Wait 10 minutes. Spray again. Wait 5 minutes. And then wrench. Almost always works. Add a good long breaker bar and most things comply.

I got the a-arms off the car without having to take off anything else, aside from the front sway bar, which is great. Repairs have a nasty way of cascading at times, making it slow and increasing the potential for forgetting to put bits back on or for not tightening down what is required. Simple is better.
With the arms off, I had to chisel away some sealant from a snap ring that held the metal ball in place. I did not see anywhere in the instructions that the contents were spring loaded…and after popping off the snap ring on the first arm, a greasy spring shot itself toward my face, luckily hitting me above one eyebrow. It was a good reminder to go get the safety glasses on.
As I pulled the joint apart, it became clear that my plastic seat had definitely broken into bits and was toast. At least I didn’t go through all this for nothing. After a thorough disassembly and cleanup of the whole a-arm, it was time to put it back together with the new bits from the kit. The directions where quite clear. But I needed a couple of tools that I didn’t have yet – a good bench vise and a grease gun. I figured they would make good additions to the garage anyway so that added to my repair costs. But I was still under the cost of replacing one control arm for both the repair kit and the tools – still ahead of the game.


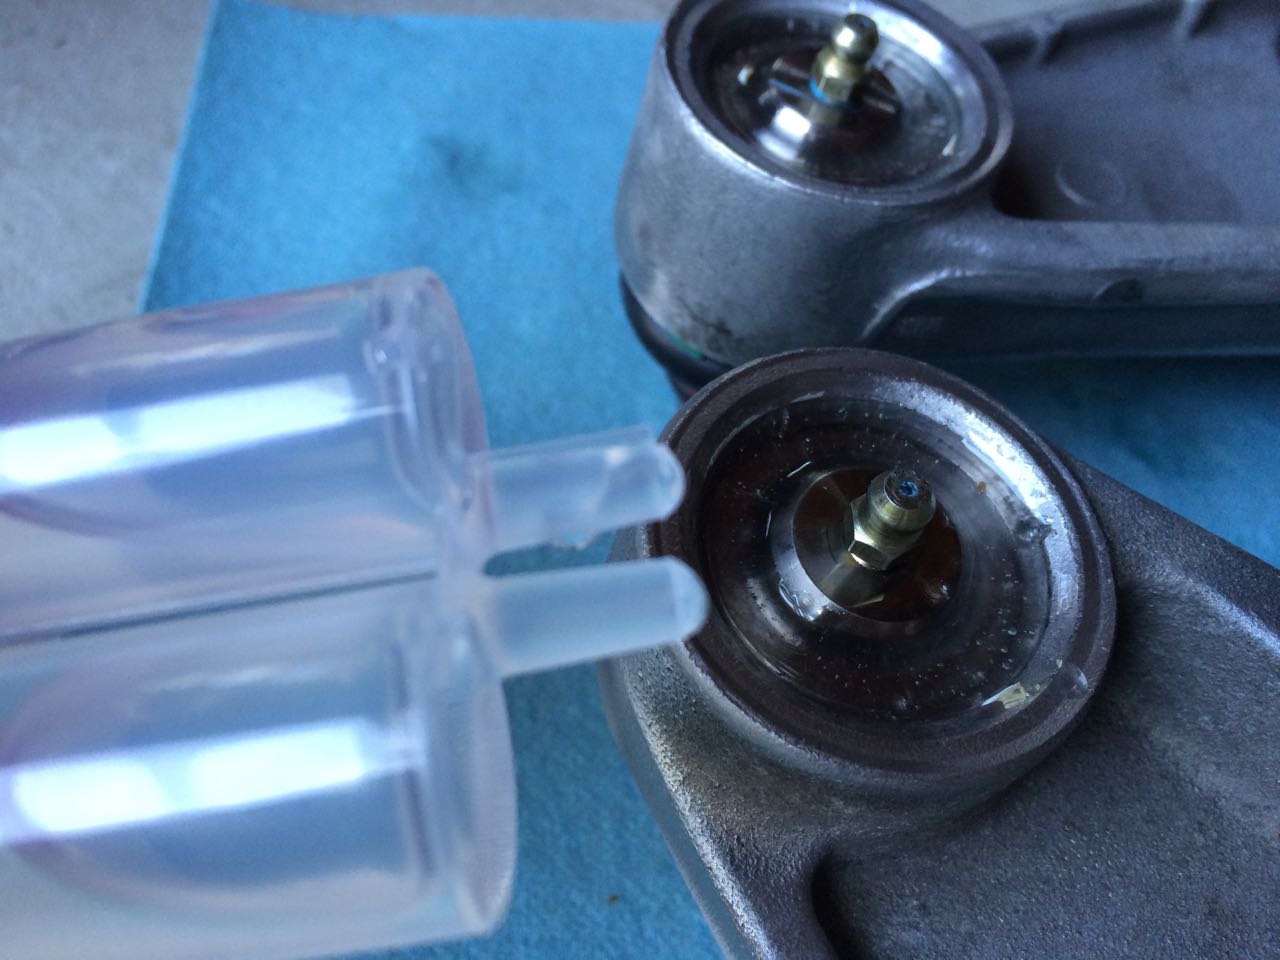

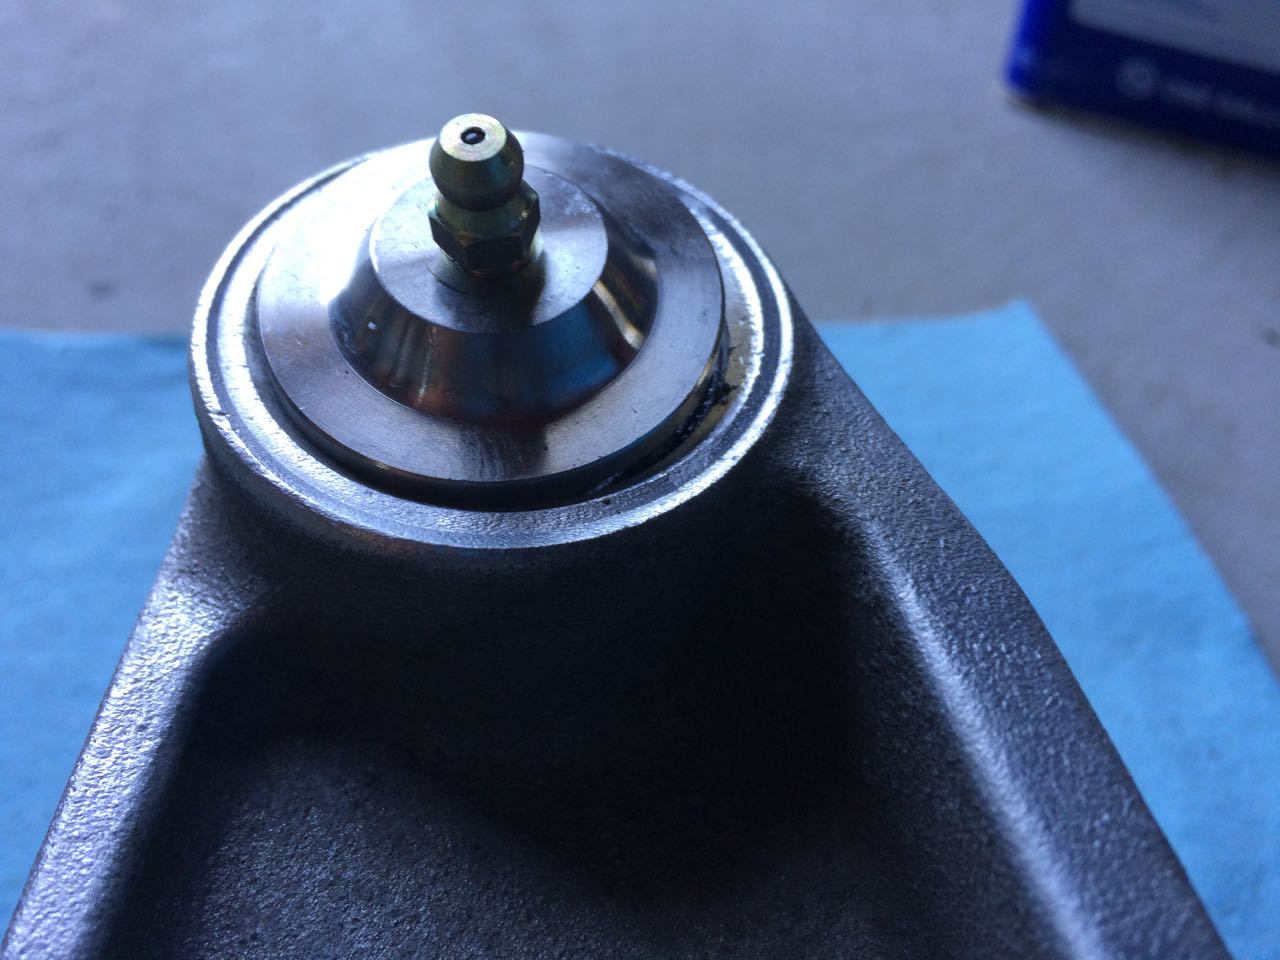
I packed the joint back together with the new bits and finally sealed the new joint back up with the supplied two-part epoxy. And it looks almost like new. Time to bolt her back together and see if this was the fix!
And then I’ll be taking it back apart again soon to replace the bushings on the other side of the A-arms since those look to be gone too! The projects may never end with this car!

Be the first to write a comment.